As you may recall when we last left the newest 221 we were in a bit of a bind with the throat plate screws.
Specifically, they were stuck and they weren't coming out. I went through the usual procedures for removing stripped/seized screws; penetrating lubricant, heat, tapping, rubber band in the slot, using a hammer and punch to try and drive the screw counter-clockwise, more heat (enough to have a rag flash combust and the japanning melt), different penetrating lubricant. These guys were in there.
Saturday I decided to punt. I looked up some local machine shops. I found one that specialized in prototyping for the local aerospace companies, and whose website advertised, "no job too small". I sent them an email to see if they were serious about that.
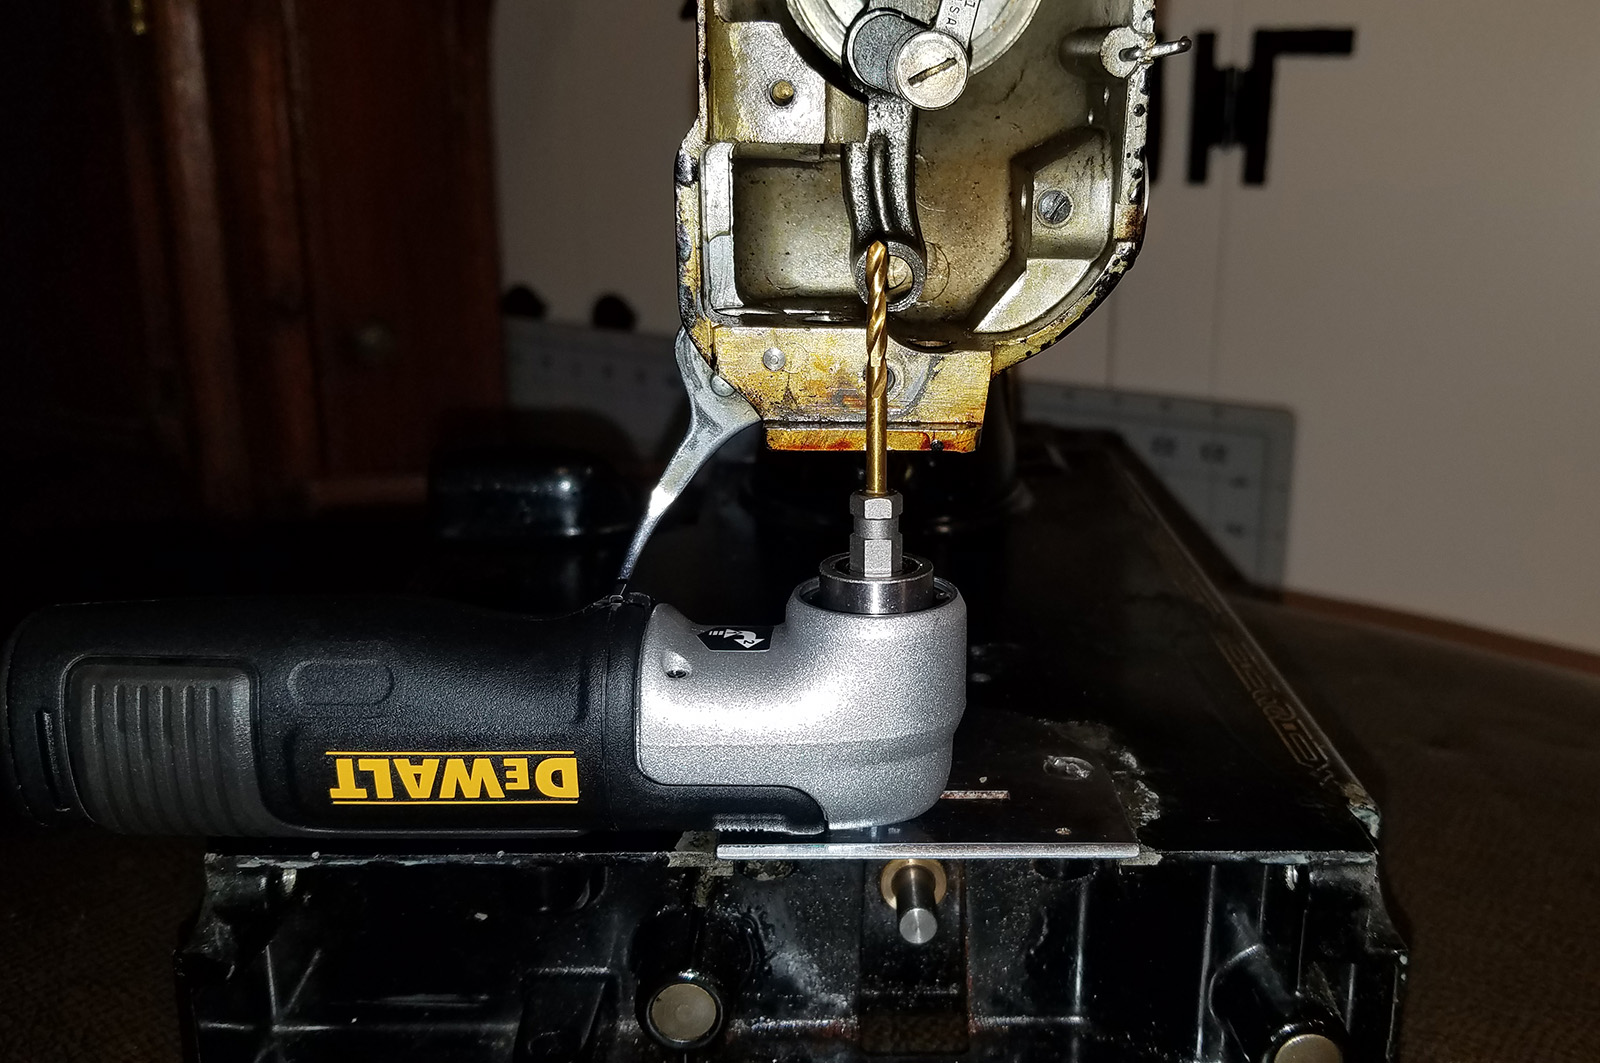
At the same time I looked for my next step, drilling and extracting the screw. The problem with that is that the 221 only has around 2" of clearance between the screws and the bottom of the head. So I ran to Lowes and picked this guy up.
a 90 degree low profile drill attachment. Just what I needed. The attachment has a little over 1" of depth. Plenty of room right? Well it would be except the "low profile" drill bits aren't quite that low profile.
Hey, but not big deal, that's why we have Dremel's, right? A few rounds of lopping off and polishing down the shank had me right where I need to be as far a clearance.
Thankfully while I was going through all that drill bit modification the guys from Simsbury Precision Products got back in touch with me and assured me that extracting a couple of screws from a vintage sewing machine was not beneath them.
I still gave my own drilling and extracting a half-hearted effort. I probably could have gotten the screws extracted myself if I would have been willing to drill on them for more than a couple of minutes, but since I had professional assistance waiting in the wings I didn't give it too great of a try.
I dropped the 221 off at the machine shop around 11am on Monday. I was told the welding specialist would be coming in at 1:30pm and wanted to give it a shot. At 1:35 pm I got a text message on my phone that said, "All set," with these photos.
Skilled professionals are awesome, aren't they? I should have called them when I bought this on Thursday. Of course then I wouldn't have a cool new toy tool for my drill.
For the curious. The procedure used to pull the screws was to TIG weld allen bolts to the top of them then just wrench them free. TIG welding has the ability for excellent heat control to protect the surrounding metal.
Having the throat plate free revealed the feed dogs screws weren't much better off. But at this point I'm on a break from screw extraction, so I just cleaned and polished the feed dogs in place and moved on to the next problem. The paint.
As you can see above the area around the throat plate is pretty bad. And there's some rough spots all over the machine. Painting is much less frustrating that fighting screws. And after learning my lesson with the 500A painting I decided to put a tad more effort into prep. Using a vibrating sander with 120 grit paper and the Dremel with 220 grid I smooth out the worst of the chipped areas.
Then masked off the areas where the decals were still okay, the badge and anyplace I didn't want to get oversprayed.
Now this isn't like the 500A where I was working overtime to match colors. These was just a "let's make it all kinda the same black," project. The paint I used was Krylon Colormaxx Primer and Paint, Semigloss Black in a spray can.
I did four coats just to make sure that I didn't have any semi-transparency issues like I did with the 500A. Overall it's decent enough for a 'just make it black' paint job. Once again I didn't get the edges of the chips perfectly flat. And there's some ridging around where the tape was. The ridging I think I can buff down.
After the painting all that was left for this round of work on the machine was to clean the mechanicals, re-install them and give the whole thing wipe down. For cleaning I decided to try an experiment. I have seen people mention Krud Kutter for a while now, so I gave it a try.
It's okay. It's not going to replace the ziplock-bag-o-Gojo though. I think the Gojo solution works better because it's easy to agitate the parts in the bag. Just rotate them every half hour or so throughout the day and they come out clean. The Krud Kutter in a tray can't get that level of sloshing around. Maybe if I put them in a sealed container, but again, the ziplock bag and gooey nature of Gojo means I don't have to use that much.
I also bought some Rustoleum Rust Dissolver.
It had mixed results. The hook gib responded great. Everything else, not so much. Probably not even as good as Evaporust. But it's easy to use, so I'll probably keep it in the rotation at least as long as I have this bottle of it.
I also took the opportunity to clean out and rewire the foot pedal. A standard foot pedal is on the right for comparison.
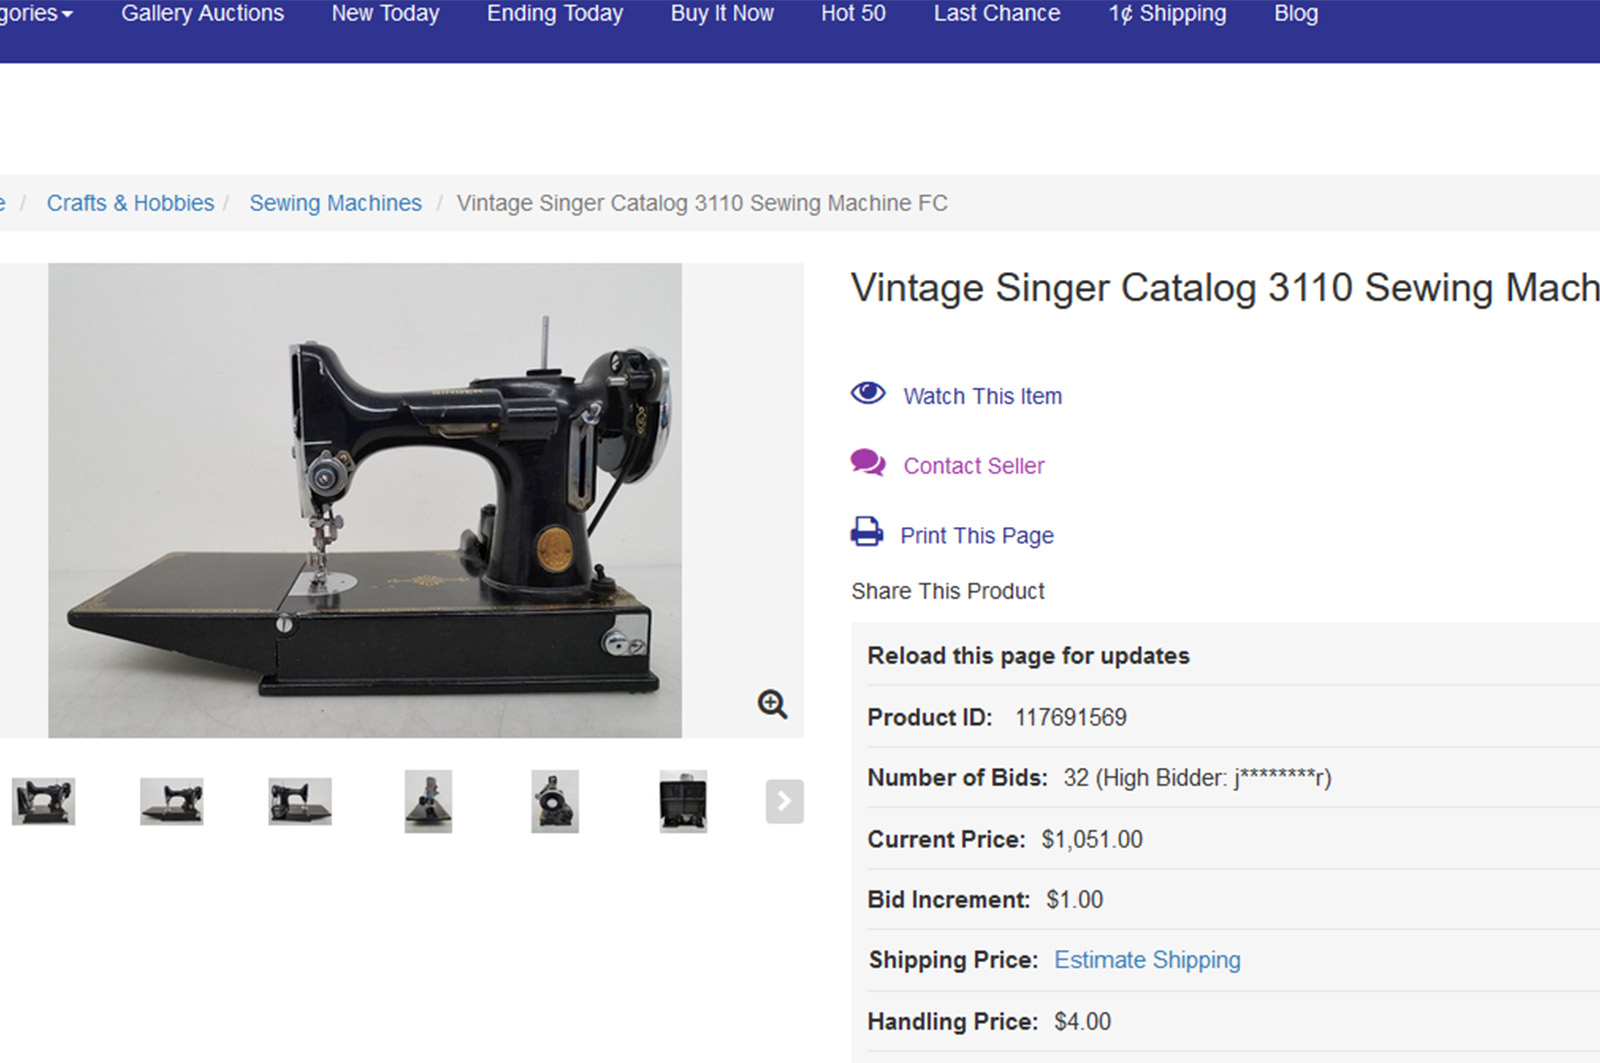
While going through all the cleaning I was noticed this guy for sale on Shopgoodwill.
It's an older model like mine, but I didn't think that just having the scrollwork faceplate would be that big of a deal. Turns out it isn't. What is the big deal is this.
The school bell style bobbin winder tension disk is a thing. Well that and people get crazy on Shopgoodwill. But it's not just there. One sold on Ebay last month for $750 and back in January one went for $690. I'm feeling even better about spending $75 on this one. Having the vented pedal also helps.
Anyway, counting how many millions I'm going to make off this guy I continued the reassembly. And a helpful tip to rip-off bozos at Cheapmart Home Sewing Centers out there. If you are going to charge someone for "polishing the hook", this is what it should look like after you polish it.
At this point, I think I'll dissuade anyone from ever taking a sewing machine to a 'sewing center' for service. This is the most egregious example of people getting ripped off that I have seen, but I have worked on quite a few machines the past several years that friends had said they were having problems with after taking it in for service. And there's always some glaring screwup that the idiot who 'serviced' the machine did. I would recommend for people wanting to get a machine serviced, just watch some youtube videos and learn how to do it. Sewing machines are pretty simple to work on yourself. And you'll save yourself being ripped off for a $100 by people who aren't doing the work you are paying them for.
Okay, rant over. Back to putting this guy together and showing it off.
As for the paint job? Well it's black, so that's a win. But yeah, I really need to practice more. We'll see what the summer holds. If we don't travel, maybe I'll start painting some some of the 27s.
I did use parts of The Featherweight Shop tune-up kit. Things like the replacement feet, for the machine and the pedal, both original sets were nicely melted.
They also have tons of information about the different 221 models and how to tell the differences. Since for the most part I haven't paid attention to that stuff, it was interesting to read.
While I'm not a constant customer of theirs and do find them more than a tad expensive on most things they are a good resource and I do buy the occasional bit and bob to show my appreciation for their efforts.
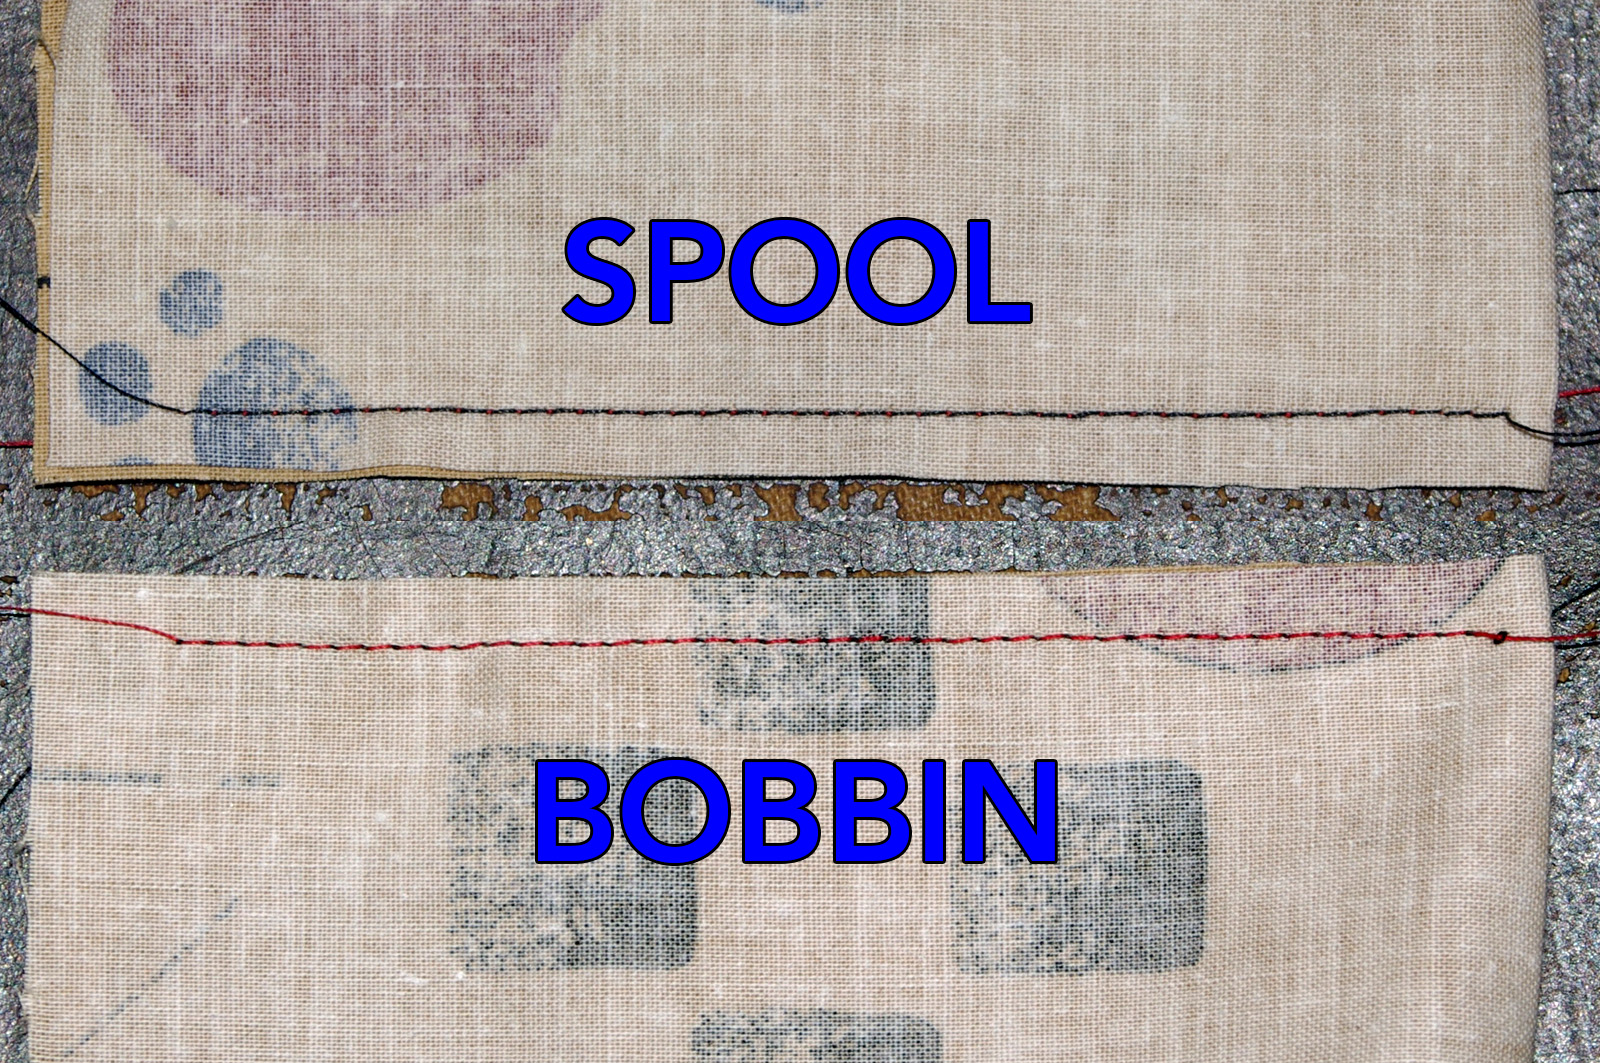
Once it was all back together and kinda polished it was time to see what kind of stitch it makes.
I gotta say I'm impressed. Very nice even stitches. Probably the best of the three 221s. Maybe as good as the 301.
So here it is. I now have 3 221s. I'm thinking this one is going to be my carry around machine since it makes that really nice stitch. So that means that the 1948 will probably be the machine that gets experimented on to become a treadle machine. I have the plans on how to do it. And now that I have a machine shop that is willing to work on sewing machines maybe I'll have them fabricate the parts I need to shim and bushing a 9 spoke handwheel into a 221. Who knows.


Loved following along. I love to see a machine get back into use.
ReplyDeleteGreat work on saving that Featherweight! They are great little machines. I'd not thought of a Featherweight as a possible treadle. Sounds interesting.
ReplyDeleteI've been bouncing between several different options. One was to using an inner sleeve on a full sized machine's stop motion clamp bushing and a normal 9 spoke balance wheel. I nixed that simply because my bearing race puller is a bit too bulky to fit under the 221's belt guard. Kind of a lame reason, but I didn't want to go out and buy another race puller. There's was also the option of The Featherweight Shop's 9 spoke handwheel for the hand crank. But I really can't see paying almost $200 for $30 bucks worth of bad Chinese parts, that would have to still require the stop motion clamp bushing to be shimmed out about 1/4" for treadle belt clearance to avoid it rubbing against the bed.
DeleteSo what won out is a compound belt drive. This way I can leave all the 221's parts in place. The 221's belt will just go to a pulley being driven by the treadle instead of its motor. I was thinking about doing a magnetic couple to the motor pulley itself. But those little motors don't spin as free and they seem so a lot of treadling energy would be wasted trying to spin something that doesn't matter to making stitches.
Sounds obtuse, I know. But once the parts get here I'll get a post up.